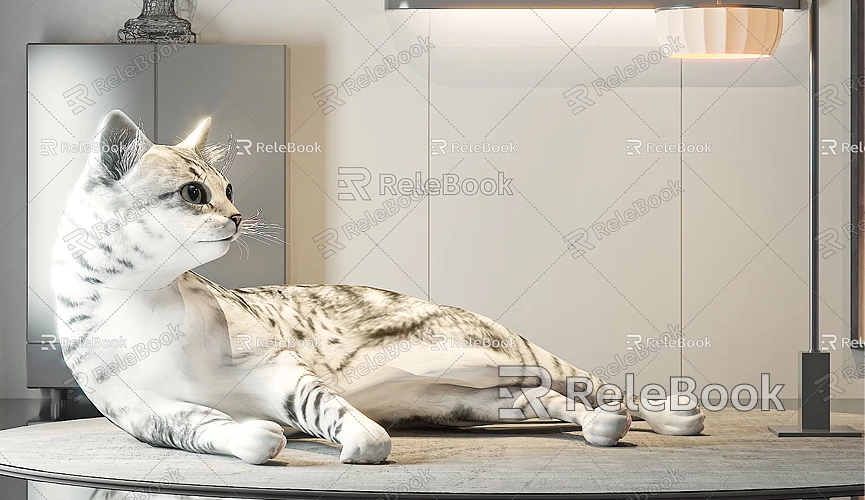
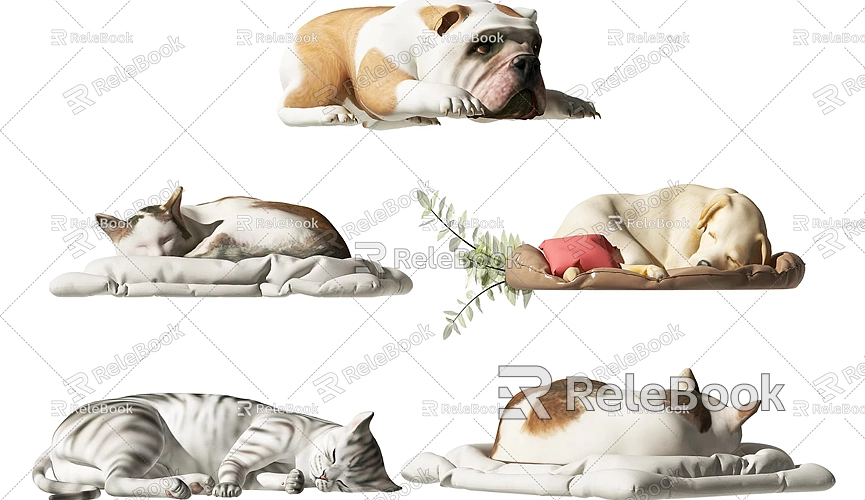
How to Make a Cat Model in SketchUp
In the world of 3D modeling, SketchUp is a widely popular and powerful tool, commonly used in fields like architectural design, interior design, and landscape architecture. Although initially developed for architectural modeling, SketchUp's simple, intuitive interface and extensive features have made it increasingly popular among designers and artists for creating all kinds of 3D models, including animal models. Creating a 3D cat model can help you become more familiar with SketchUp's modeling tools while also improving your design skills, especially when it comes to handling details and proportions. This article will guide you through the process of creating a 3D cat model in SketchUp, from the basic body outline to the intricate facial features, and finally, the rendering and presentation of the finished model.

Understanding the Basic Tools in SketchUp
Before starting your cat model, it’s important to get familiar with the basic modeling tools and techniques in SketchUp. While the software is powerful, it’s incredibly user-friendly, making it accessible for users of all skill levels.
- Push/Pull Tool: One of the most commonly used tools in SketchUp, the Push/Pull Tool allows you to extrude flat shapes into 3D objects. When creating the cat’s body and head, the Push/Pull Tool is essential for quickly building basic forms.
- Select Tool: This tool allows you to select specific parts or faces of the model that you want to modify. It's especially useful for adjusting the angles of the cat's legs, tail, or ears during modeling.
- Circle Tool: The Circle Tool is critical when modeling the cat’s ears, eyes, and nose. It allows you to create perfect circles or ellipses to form these key facial features.
- Line Tool: The Line Tool helps you build more complex shapes and details by drawing straight lines. It’s essential for adding elements like the cat’s claws and facial contours.
- Tape Measure Tool: Proportions and details are crucial when modeling a cat, and the Tape Measure Tool allows you to check measurements and ensure that each part is accurately scaled.
Once you’re comfortable with these tools, you can begin creating your cat model.
Building the Basic Structure of the Cat
Creating a 3D model of a cat starts with forming the basic shapes. The body of a cat is usually an elongated oval, and the head is typically a rounder sphere. These basic geometric shapes will help you set up the framework of your model.

Start by drawing a rectangle to represent the cat's body, then use the Push/Pull Tool to extrude it into a rectangular prism. After that, adjust the two ends of the shape to create the curved, cat-like form. You can tweak each face's size and angle to fine-tune the cat's proportions and make it more realistic.
For the head, begin with a simple spherical shape. Draw a circle and use the Push/Pull Tool to extrude it into a sphere. Then, scale and adjust the head’s shape to better match the proportions of a cat's face. You can refine the model further by using the Line Tool to cut certain sections of the head, shaping the facial features more accurately.
Modeling the Cat’s Limbs and Tail
The cat’s limbs and tail are crucial to its distinctive appearance, so it’s important to pay attention to proportion and streamline the design. Cats have long, slender legs with muscular definition, but they also need to maintain flexibility. To model the legs, start by drawing a long, thin circle, then use the Push/Pull Tool to stretch it. From there, scale and bend the leg shape to form the cat’s limbs. The paws are typically small and delicate, so use the Line and Circle Tools to shape them, and refine the details with the Push/Pull Tool.
The tail is another key feature, usually long and flexible. Start by drawing a long cylindrical shape at the base of the tail, then use the Rotate Tool to adjust the angle and curve of the tail. The tail should gradually taper at the end, and you can use the Push/Pull Tool to refine its form, giving it a natural flow and curve.
Creating the Cat’s Facial Features
When modeling the cat’s face, it’s essential to focus on the eyes, nose, mouth, and whiskers. These details define the expression and personality of the cat.
- Eyes: Cat eyes are typically large and expressive, shaped like ellipses or almonds. In SketchUp, you can start by drawing a circle, then use the Push/Pull Tool to slightly extrude it. Next, use the cutting tool to create the inner contour of the eye. Once you have the basic shape, apply materials to color the eyes and add reflections to simulate the glossy look of real cat eyes.
- Nose and Mouth: The cat’s nose is small and typically shaped like an upside-down triangle. You can create this by drawing a triangle and using the Push/Pull Tool to give it depth. For the mouth, use the Line Tool to draw the outline and refine the jaw and lip areas to create a more detailed structure. You can further enhance the depth of the face by using the Push/Pull Tool to adjust the chin.
- Whiskers: Cat whiskers are long, curved lines, which can be drawn one by one using the Line Tool. To make the whiskers look natural, use the Rotate Tool to slightly curve each whisker and adjust their angle.
Using Textures and Materials to Enhance the Cat
Once the basic shape of the cat is finished, it’s time to apply textures and materials to add realistic detail. The fur, eyes, nose, and paws are key areas where texture can enhance the model’s lifelike quality.
- Fur Texture: To simulate the look of a cat’s fur, you can apply a suitable texture map. SketchUp includes a default material library, but you can also download high-quality 3D textures and HDRI (High Dynamic Range Images) from external sources. For example, you can visit [Relebook's Texture Library](https://textures.relebook.com/) to download realistic fur textures and apply them to the cat’s body, giving it a more authentic feel.
- Eyes and Nose Materials: The material for the eyes typically needs to be transparent or semi-transparent. You can use the glass or jewel materials from SketchUp's library to give the eyes a realistic shine. For the nose, use a skin material with slight reflection to mimic the glossy look of a cat's nose.
- Overall Rendering: To make the cat model more lifelike, consider using a rendering plugin like V-Ray. This will add more lighting, shadow, and reflection effects, bringing your model to life and enhancing the details of the cat’s appearance.
Finalizing the Cat Model and Presentation
After finishing the modeling, you can inspect your cat model from various angles in SketchUp to ensure the proportions and details meet your expectations. To showcase your work, you can perform a rendering to create high-quality images or animations that highlight the cat model’s features and textures.
Through consistent practice and experimentation, you’ll gradually master the techniques of modeling complex animal figures in SketchUp. As you explore more tools and plugins, you’ll be able to create even more unique and creative models.
Overall, creating a 3D cat model is a complex but enjoyable process. By carefully constructing the basic shapes, refining the details, and applying suitable textures, you can create a lifelike cat in SketchUp. If you need high-quality textures and materials, consider visiting [Relebook's Texture Library](https://textures.relebook.com/) and [Relebook's 3D Model Library](https://3dmodels.relebook.com/) to download premium 3D models and textures. These resources can help you improve the quality and detail of your model, making your modeling journey even smoother.

